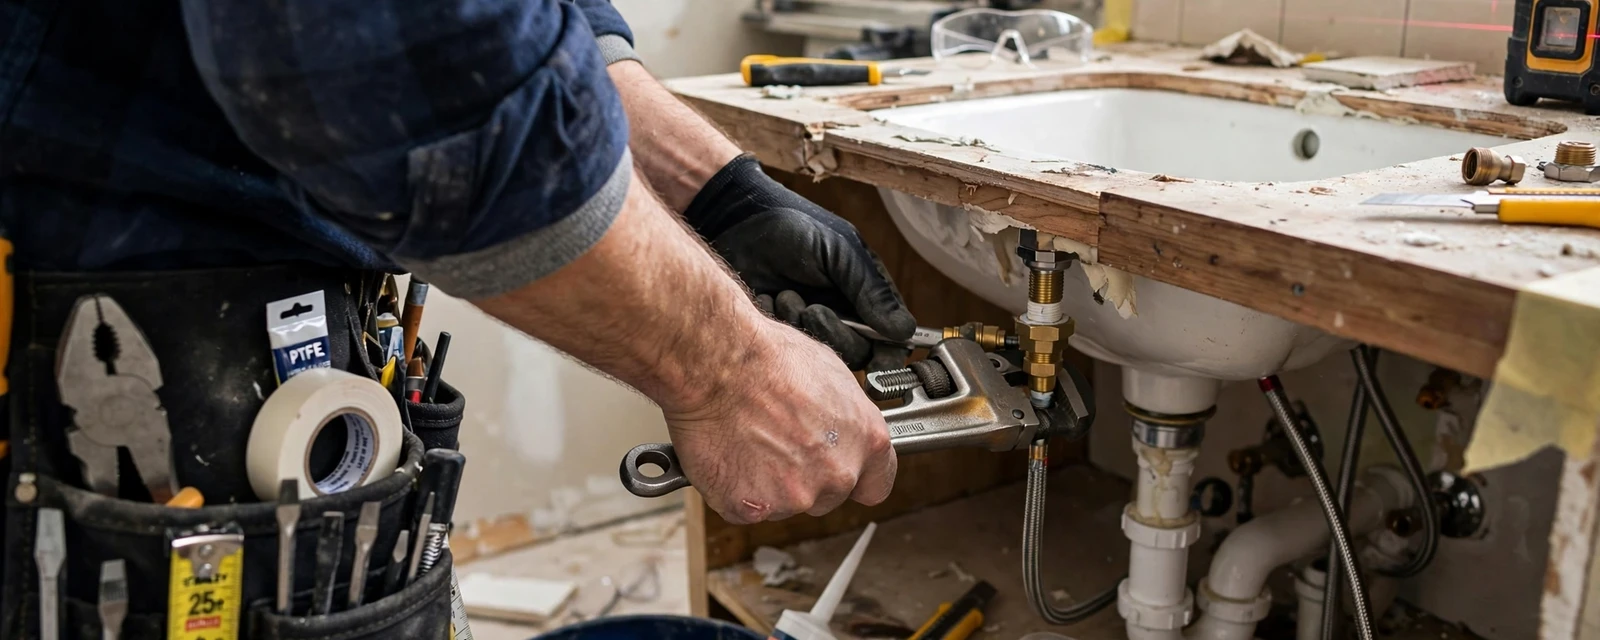
To plumb a shower base, connect the drain body to a 2 inch trap, tie the trap into a vented drain line, set the base on a solid bed, and flood test it before anything is covered.
The trap holds a water seal against sewer gas, and the vent keeps the drain flowing. Stop and call a licensed plumber if the drain must move, the slab must be cut, or the vent is missing.
Swapping a shower base looks like a weekend job, and in the simplest case it can be one. The new base lands where the old one was, the drain already exists, and the work is mostly leveling, sealing and testing.
The risk is in the parts you cannot see. A bad drain connection leaks inside a wall or under a floor for months before it shows. This guide explains how the plumbing works, how to test it, and the points where a DIY job should hand off.
What the drain assembly actually does
A shower drain has three jobs. It moves water out fast, it blocks sewer gas, and it never lets water escape into the framing. Each job depends on a different part.
The drain body bolts or clamps into the base and ties into the pipe below. The trap is a curved section that keeps a small plug of water standing in the line. That water seal is what stops sewer odor from rising into the bathroom.
The vent is a pipe that lets air into the system. Without it, draining water pulls a vacuum and can siphon the trap dry. A dry trap lets gas in, and a slow gurgling drain is often the first sign.
The order of work for a like-for-like swap
This applies only when the new base uses the same drain location as the old one and the drain line below is sound.
Confirm the drain line is clear
Run water down the old drain before demolition. If it backs up, the line needs cleaning first, since a new base on a clogged pipe only hides the problem.
Check slope and trap
The horizontal drain pipe should fall about a quarter inch per foot toward the main line, and the trap should be a proper 2 inch size. Confirm the exact rule in the Florida Building Code, Plumbing, and the base maker's instructions.
Dry fit the base
Set the base in place without glue or mortar. Check that the drain outlet lines up with the trap and that the base sits level on its support.
Set the base and seal the drain
Bed the base as the maker directs, usually in mortar or on a flat subfloor. Compress the drain gasket evenly so the seal does not twist.
Test before you close anything
Plug the drain, fill the pan with a couple of inches of water, mark the level, and wait. A drop in level means a leak somewhere.
Mistakes that cause the most leaks
The most common mistake is over-tightening. Cranking down on a drain flange cracks plastic bases and twists the gasket, and the leak starts weeks later when the crack grows.
The second is skipping the dry fit. A drain that sits half an inch off the trap forces the pipe to bend under load. That stress shows up as a weeping joint after the first few showers.
The third is gluing the pipe before testing. Once solvent cement sets, a wrong angle means cutting out and starting again. Fit everything dry, mark the joints, then glue one joint at a time with the right cement for the pipe type.
Need a valve or drain checked?
A licensed plumber can test the pan and the connections. Call (407) 964-8940 any hour. The line is open 24/7.
DIY or call a plumber
Use the table before you pick up a saw. When the answer lands in the right column, stop.
| Situation | DIY reasonable | Call a licensed plumber |
|---|---|---|
| Same drain spot, sound trap and vent | Yes, with careful testing | If any test fails |
| Drain must move a few inches | No | Yes, new pipe and slope are involved |
| Drain sits in a concrete slab | No | Yes, slab cutting and pipe repair |
| No trap or vent found | No | Yes, a code issue and a gas risk |
| Slow gurgling or sewer smell | Only to check the trap seal | Yes, if it keeps happening |
| New valve and rough-in changes | No | Yes, pressure and temperature balance |
Tools and materials worth having ready
Gather the parts before you start. You need the drain kit that matches your base, a 2 inch trap and fittings of the same pipe type as the existing line, the right primer and cement, a test plug, a level, and a small bucket for water.
Keep the base maker's instruction sheet nearby. Bedding method, drain torque and cure time differ between acrylic, fiberglass and solid surface bases, and the warranty often depends on following them. A missed step can void coverage and cost you the base.
How to run a pan test that means something
A pan test is a flood test of the shower floor. Block the drain with a test plug or an inflatable stopper, and fill the pan with water to just below the curb or threshold. Mark the water line with tape or a pencil.
Leave it for at least 24 hours, and check the level at the start and end. A level that holds means the pan, the drain flange and the seal are tight. A level that falls means one of them leaks.
Do not mistake evaporation for a leak. Cover the pan with plastic to slow it down, and compare against a cup of water set beside it. If the pan drops and the cup does not, you have a leak to find before tile goes down.
Why the trap seal matters more than people think
A shower that is rarely used can dry out its trap. The water evaporates over weeks, and the seal disappears. The room then smells of sewer even though nothing is broken.
Run the shower for a minute to refill the seal. If the smell returns within days, a leak in the trap, a blocked vent or a cracked line may be draining it. That is a job for a plumber with a camera, not for more air freshener.
Winter Springs permit note
The City of Winter Springs building permit application says a separate permit must be secured for electrical work, plumbing and signs. The form also asks for the number of plumbing fixtures and a contractor license number and qualifier.
Permit rules vary, so ask the Winter Springs building department at 1126 East State Road 434 whether your shower job needs one. Do that before you open walls, not after.
Source type: city building permit application
Stop and call if you see any of these
Stop if the drain pipe is cast iron, galvanized or cracked. Stop if you find water stains, soft framing or mold behind the old base. Stop if the trap has no vent anywhere nearby.
Stop if the new layout needs a different drain location. Stop if the slab must be cut, if the line backs up, or if a test leaks twice. At that point a licensed plumber with the right tools will cost less than another failed attempt.
The valve side of the project
Most shower base swaps also touch the valve and trim. A shower valve repair is a separate job from the drain work, and it deals with pressure and hot water, not with gravity. A worn cartridge or loose stem can leak behind the tile long after the base is done.
If the valve must be moved, replaced with a different brand, or fed with new supply pipe, the job becomes new plumbing. That is where plumbing installation by a licensed plumber makes sense. Pressure-balancing valves also protect against scalding, so they should be set to the maker's instructions.
Where we can help
Our plumbers take calls for shower rough-in, drain repair and valve work around Oviedo and the nearby towns. A pan test and drain check before tiling can save a ceiling later.
Homes near Sanford are covered the same way, and we give a clear price before work starts.
Questions readers ask
Only if it is intact, the right size, and not cracked or corroded. A trap is cheap to replace, so most pros put in a new one while the pan is out.
A common practice is 24 hours with the water marked at the start. Follow the base or liner maker's instructions, since some products specify a different time.
Gurgling suggests air is being pulled through the trap because the vent is blocked or missing. It can also mean a partial clog downstream. Either cause needs a plumber if it does not clear quickly.
It helps in some designs, but the drain gasket does the main work. Use the sealing method the drain maker specifies, and never use silicone to hide a bad fit.
It can be. Pipe materials and layouts vary by subdivision and by the year a house was built, so ask what year yours dates from before you buy parts. A plumber can look at the drain line and tell you what you have.